
Previous blog posts have mentioned the infamous dinghy davit project that spanned two years. This blog covers the intricate details of the massive project. As with all blog posts, Hilary is the author and will preface this post by saying how excited she is to document this project which showcases just a few of Bert's many talents. Bert is truly amazing and Hilary is excited to document and share his project journey. Each of our boats had a dinghy. Rain or shine, we very much enjoy relaxing dinghy days and many "Sunday-Funday's" have been spent in the dinghy. Thus, equipping MMS with a davit system for our dinghy was a necessity.
 |
| A rainy dinghy day a few years ago. |
 |
| Chilling in the dinghy, visiting with friends. |
When we purchased Make Me Smile (MMS) in March 2023, her original 2006 fiberglass swim platform was cracked and rotten. Additionally, she had never been equipped with davits for a dinghy (aka tender) nor a dinghy launch/retrieval system.
 |
| Original fiberglass swim platform on MMS. The platform was both cracked and rotten, necessitating replacement. |
After purchasing MMS, we put her on the hard in mid-March 2023 to address a series of maintenance items, including replacement of the swim platform. Bert located a local fabricator in Cape Canaveral to custom fabricate a new swim platform and swim ladder for MMS. Bert also located a custom builder of davits on-line. Measurements were taken for both, designs were created and approved and orders were placed.
Upon delivery, the custom swim platform exceeded all our expectations!!! The fabricator even included installation. Having the final installation included was a big relief to Hilary as it was a bit intimidating to her to potentially be involved in securing the new swim platform to the transom, especially considering the new swim platform also needed to support the dinghy.
 |
| Swim platform fabrication in process |
 |
| Bottom view of new swim platform and ladder prior to installation. |
 |
| Top view of swim platform and ladder prior to installation. |
 |
| Bottom view of of new platform installed on the transom of MMS. Note the extra support bars required for the dinghy. |
 |
| Top view of the new platform installed on the transom of MMS. Note the posts that the dinghy davits will be secured to. |
 |
| Unpolished davits with tube polisher. This was the set up in the yard, using MMS as shade for Hilary to polish the davits. |
 |
| Close up of the tube polisher. The three point wheel system allows it to wrap around the tube. |
 |
| Bert doing a test with the new tube polisher |
 |
| The test was a success!!! Nice and shiny. Time for Hilary to get to work. |
 |
| Fully polished davits ready for installation on MMS. |
 |
| New davits installed on the newly fabricated swim platform. This was the day we put MMS in her slip after four months on the hard. We are ready to hang the dinghy!!!! |
 |
| August 2023 - Beginning of the day: Bert deep in thought on how to install rigging to manually lift the dinghy into place. The winch to mechanically lift the dinghy had not been installed yet. |
 |
| End of the day: Temporary rigging version 1.0. Several ratchet straps were used for the first lift of the dinghy onto the new davit system. |
 |
| Side view of 1st temporary rigging system using ratchet straps. Simplified is in the background with empty dinghy davits. Simplified's back end came up at least 3" when the dinghy was transferred. Corresponding 3" drop of MMS when dinghy was lifted into place. |
Temporary rigging version 2.0 quickly replaced the ratchet straps with sturdier, stronger lines to hold the dinghy in place until the cabling system and mechanical winch could be installed. The original design of the davit system had the winch attached to the dinghy davits. However, once we started using the dinghy, the tension on the winch was unacceptable. Bert got to work creating a new design to change the pivot points of the cables to reduce stress, spread out the weight load for lifting/lowering, and also to move the winch up to the hard top on the bridge. Suffice to say Bert spent many, many hours, days, weeks using complex math that is far beyond Hilary's capabilities.
 |
| Rigging version 2.0 replaced the rachet straps with stronger lines. |
 |
| Temporary rigging 2.0 and winch instillation version 1.0. Winch installed on the davits. |
 |
| View of the the temporary rigging version 2.0 and the winch installed on the davit. |
 |
| Temporary anchor point to the base of the radar mast. |
 | ||
| Finished reinforcement of the hard top for the anchor point of the davit winch and cable system
|

 |
| Makeshift paint shop to prime the parts Bert designed and manufactured. |
 |
| Primer complete! |
 |
| Hilary competed the painting of the parts. Ready for test fit and installation. |
 |
| Bert test fitting all the pieces with the stainless steel hardware needed for installation. |
 |
| Final installation of the blocks that will be used to secure the dinghy winch and cable system. |
 |
| Bonus: eye hooks on the bottom side of the anchoring plates. Bert thinks of everything! |
 |
| Bert carefully moving into position to drill the new holes for the cables out at the end of the dinghy davits. |
 |
| Bert drilling holes for cables. |
 |
| Bert transitioning from dinghy to swim platform after drilling the holes for the cable system. |
 |
| Cables in place, time to remove the temporary rigging. |
 |
| Cable system test. Cables are holding! Proof of concept a success! |
 |
| View of cable system from above. Note the anchoring of the cables to the mounts Bert designed and fabricated. |
 |
| Best of all, no more trip line! |
 |
| Final installation of the cabling system. |
With the permanent cabling system in place, Bert's focus transitioned to moving the winch from the dinghy davit up to the hard top. This also required running electrical to operate the winch and installing the plug for the winch remote control. In the picture above, you can see the new winch installed on the hard top (black cover on it). The post directly beneath the new winch is where Bert needed to run the electrical wires down to the engine room. This required Bert to custom fabricate yet another tool. A 5' drill bit to drill through the hard top and transom at the top and bottom of the post. Yes, a five foot drill bit!!! Stores don't sell such a tool and necessity is the mother of invention. Bert rode the eBike to the hardware store, purchased a long piece of metal conduit tubing, brought it back to the boat and made his own 5' drill bit.
 |
| Wiring for winch in process. Still in design phase. |
 |
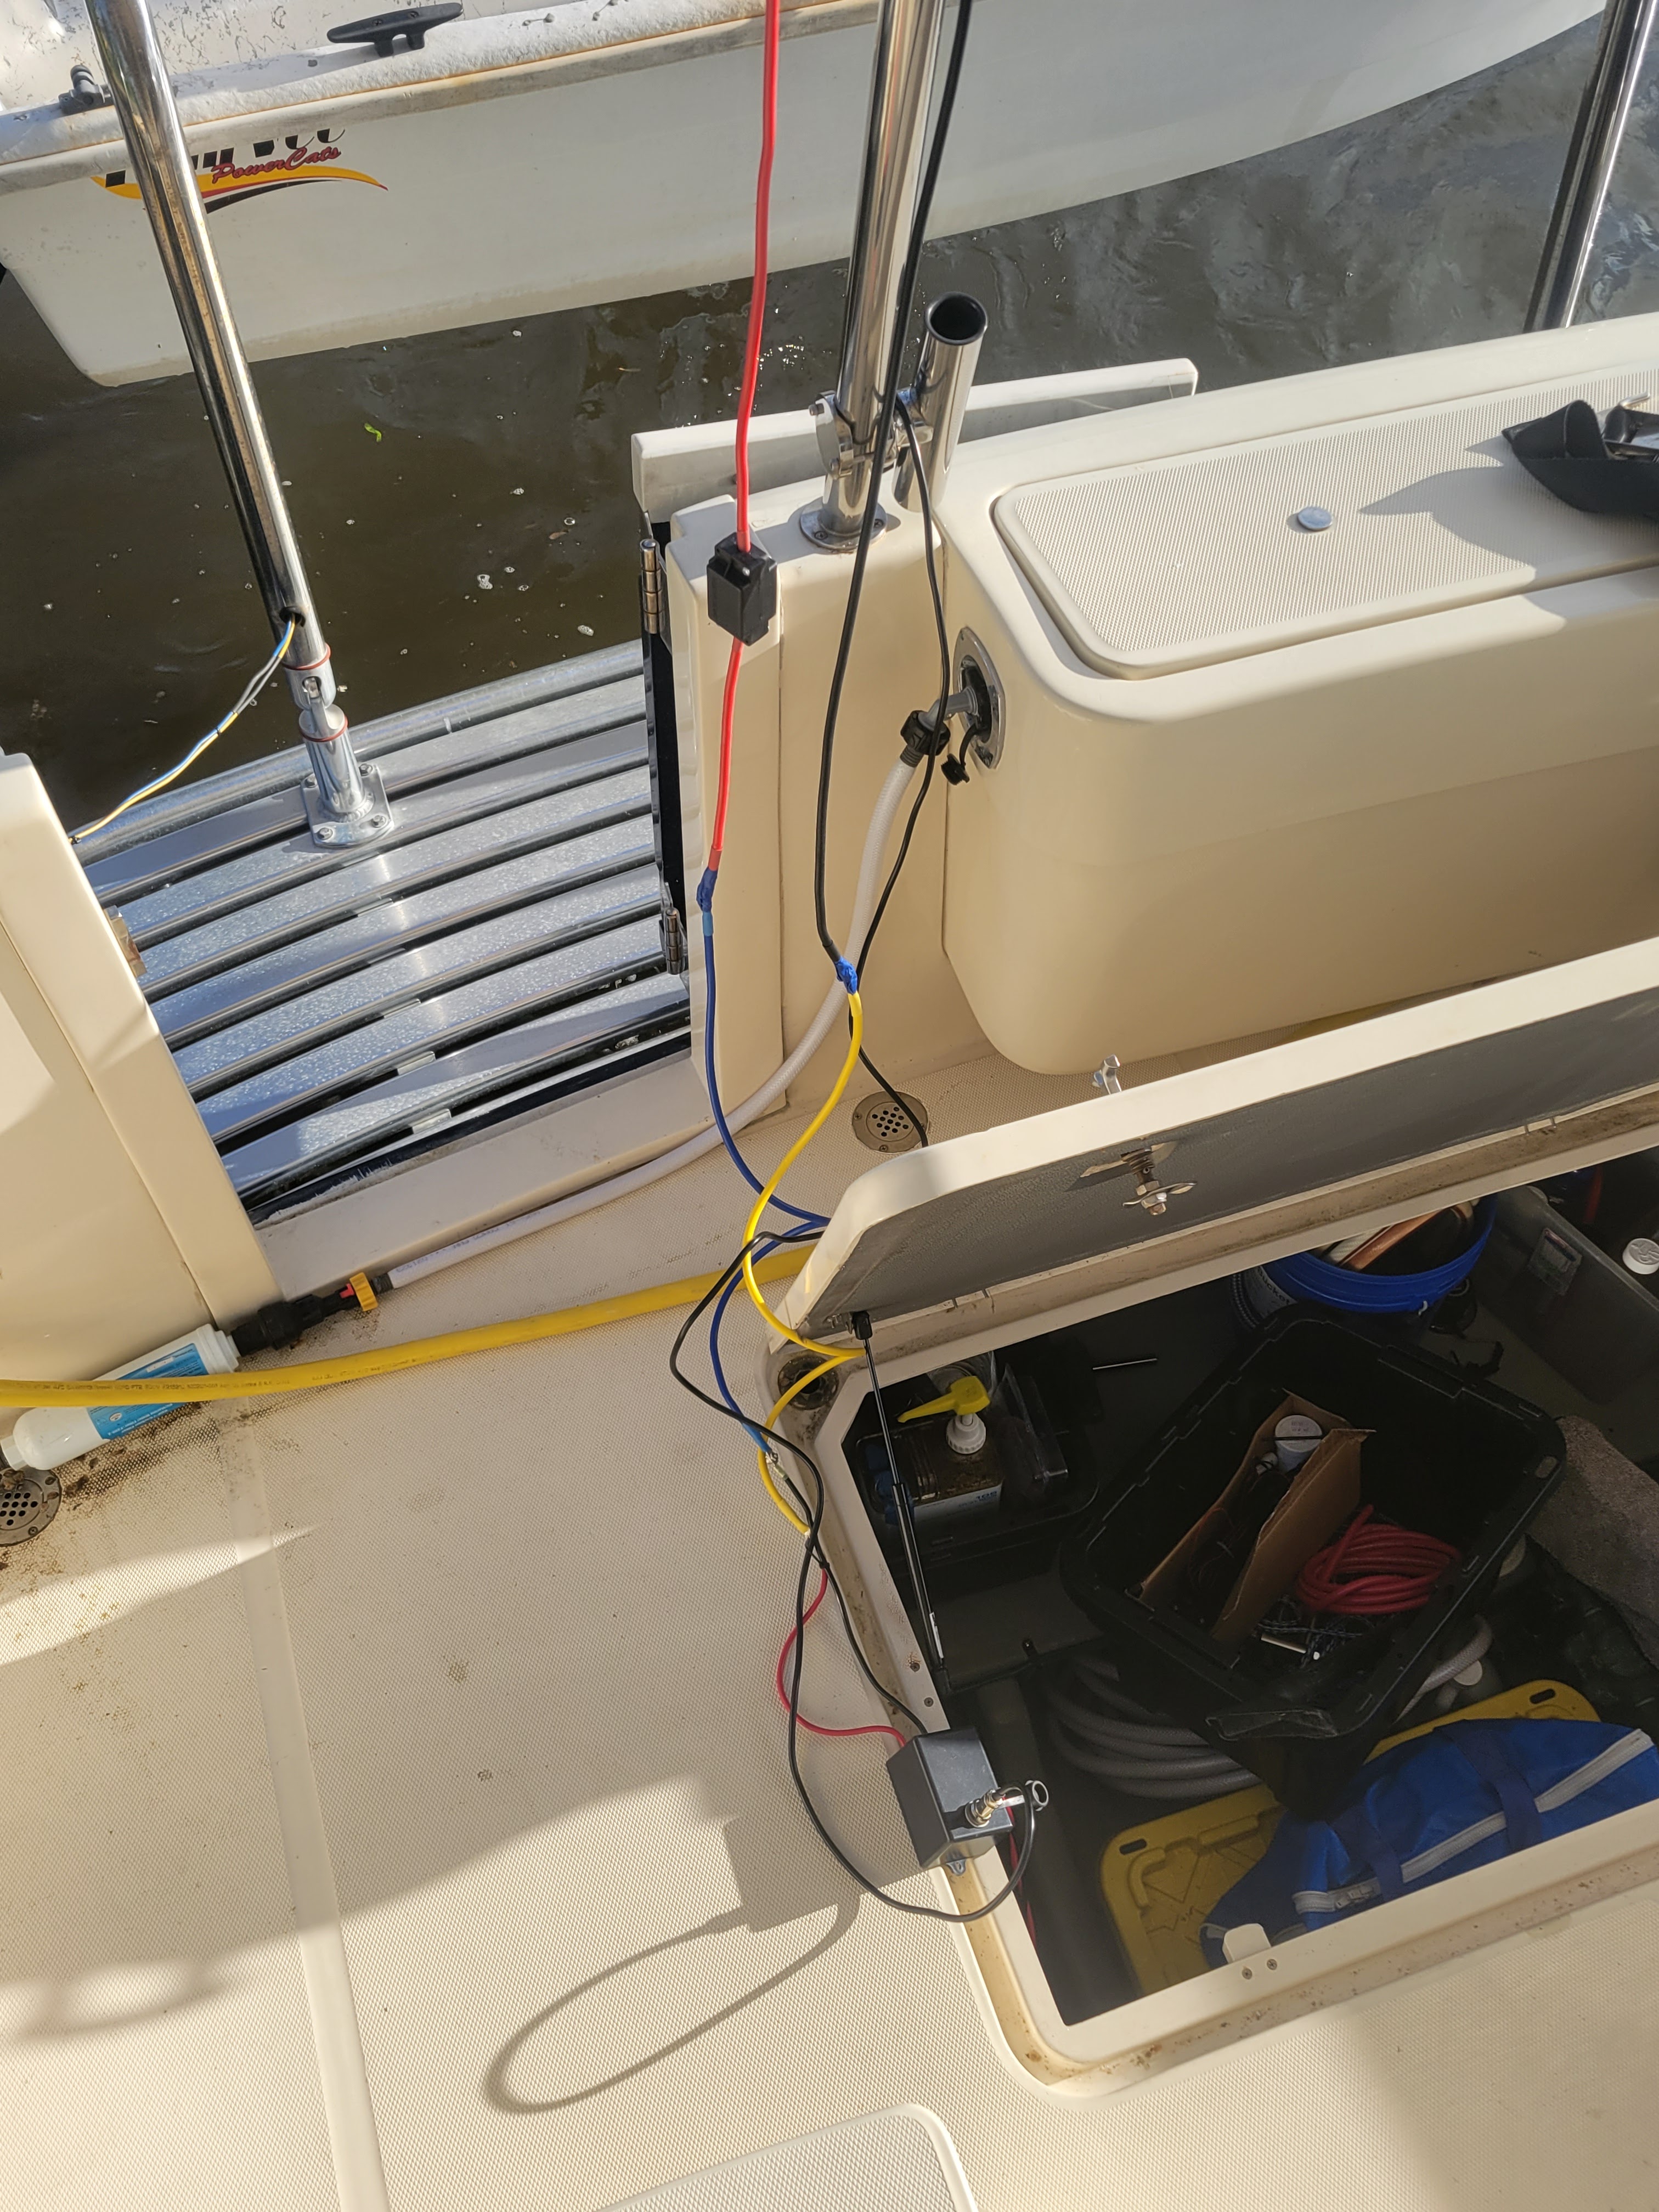
| Wiring for winch in process. Wiring needed to be temporarily installed to test operation of the system. It works! Dingy down. |
 |
| Quitting time for today. Tidying up wiring. Dingy Up! |
 |
| Temporary wiring installation. This is before the holes were drilled to run the wiring through the post to get it from the hard top to the engine room. |
 |
| Final view of wiring running from winch into the post on the hard top. The white mesh obstructing the winch is the banner we have on the back of MMS so passing vessels can hail us for a slow pass. The banner will come down once we cross our wake. |
 |
| Final installation of the plug where the remote control that runs the winch gets plugged in. |
 |
| Temporary winch requiring removal. |
 |
| Bert removing the old winch. |
 |
| Old winch removed. |
 |
| No more rust. Barkeepers Friend is an amazing product. In addition to removing the rust from the dingy, Hilary polished the dinghy davit too. Nice and shiny once again. |
No comments:
Post a Comment